


How To Create Your Own Bundle Dyed Scarf with Flowers, Leaves & Food Waste
Crafting and making have always been my way of staying grounded and relaxing in times of stress. So while we’re all stuck at home and feeling all the cabin fever from stay home restrictions and lock downs, I’d like to share with you a simple yet fun beginner tutorial for making your own bundle dyed scarf.
The steps detailed below are based on the bundle dye kits I offer on my shop, which includes pre-mordanted fabric* and dye materials. If you don’t have access to fabric that has been prepared for dyeing, you can still experience natural dyeing with some well-used and well-washed natural textiles at home, like an old cotton T-shirt or linen bedsheets. Do bear in mind though, that the colours may be less vivid and less durable (especially in the wash) when using unmordanted fabric. You can also adapt the steps to dye paper, which can then be used to create some beautifully patterned cards or even framed for your home!
*pre-mordanted fabric refers to textiles that have been treated with metal salts, called mordants, prior to dyeing to help the dye bond with the fibres

You will need:
▲ Pre-mordanted fabric
▲ Dye materials (I’m using madder root, cochineal, avocado & onion skins & an Aussie native plant mix)
▲ Fabric strips, string or rubber bands
▲ Protective gloves
- Pot and/or Steamer (use one you won’t cook with anymore!)
- Optional: rusty objects (nails, screws, nuts & bolts); copper pipes or pieces; baking soda; vinegar or lemon juice
Items marked with ▲ are included in my Bundle Dye Kits.

Before we start
While this process uses non-toxic materials and plant material, I want you to experience natural dyeing in the safest way possible and recommend the following safety practices:
1. Hardware such as pots, steamers, tongs, spoons… once used in the dyeing process should not be used for cooking or food storage later.
2. Wear gloves and protective clothing (such as an apron) when dyeing to avoid staining your hands. It is also a good idea to protect your work surface.
3. If you’re gathering your own dye materials, be sure to check that they are not poisonous and are safe to handle. Some plants only have certain parts that are dangerous, e.g. rhubarb leaves. But if you’re ever in doubt, don’t use it!
4. If creating with little ones, adult supervision is recommended for steps that involve handling hot water or heated objects.
5. Where possible, heat your bundle in an area with good ventilation or outdoors, especially if you’re sensitive to smells. Certain plant materials, such as eucalyptus, release their oils when heated which can cause irritation.

Let’s go!
1. Wet your fabric thoroughly and squeeze to remove excess moisture and lay the fabric out on your work surface.
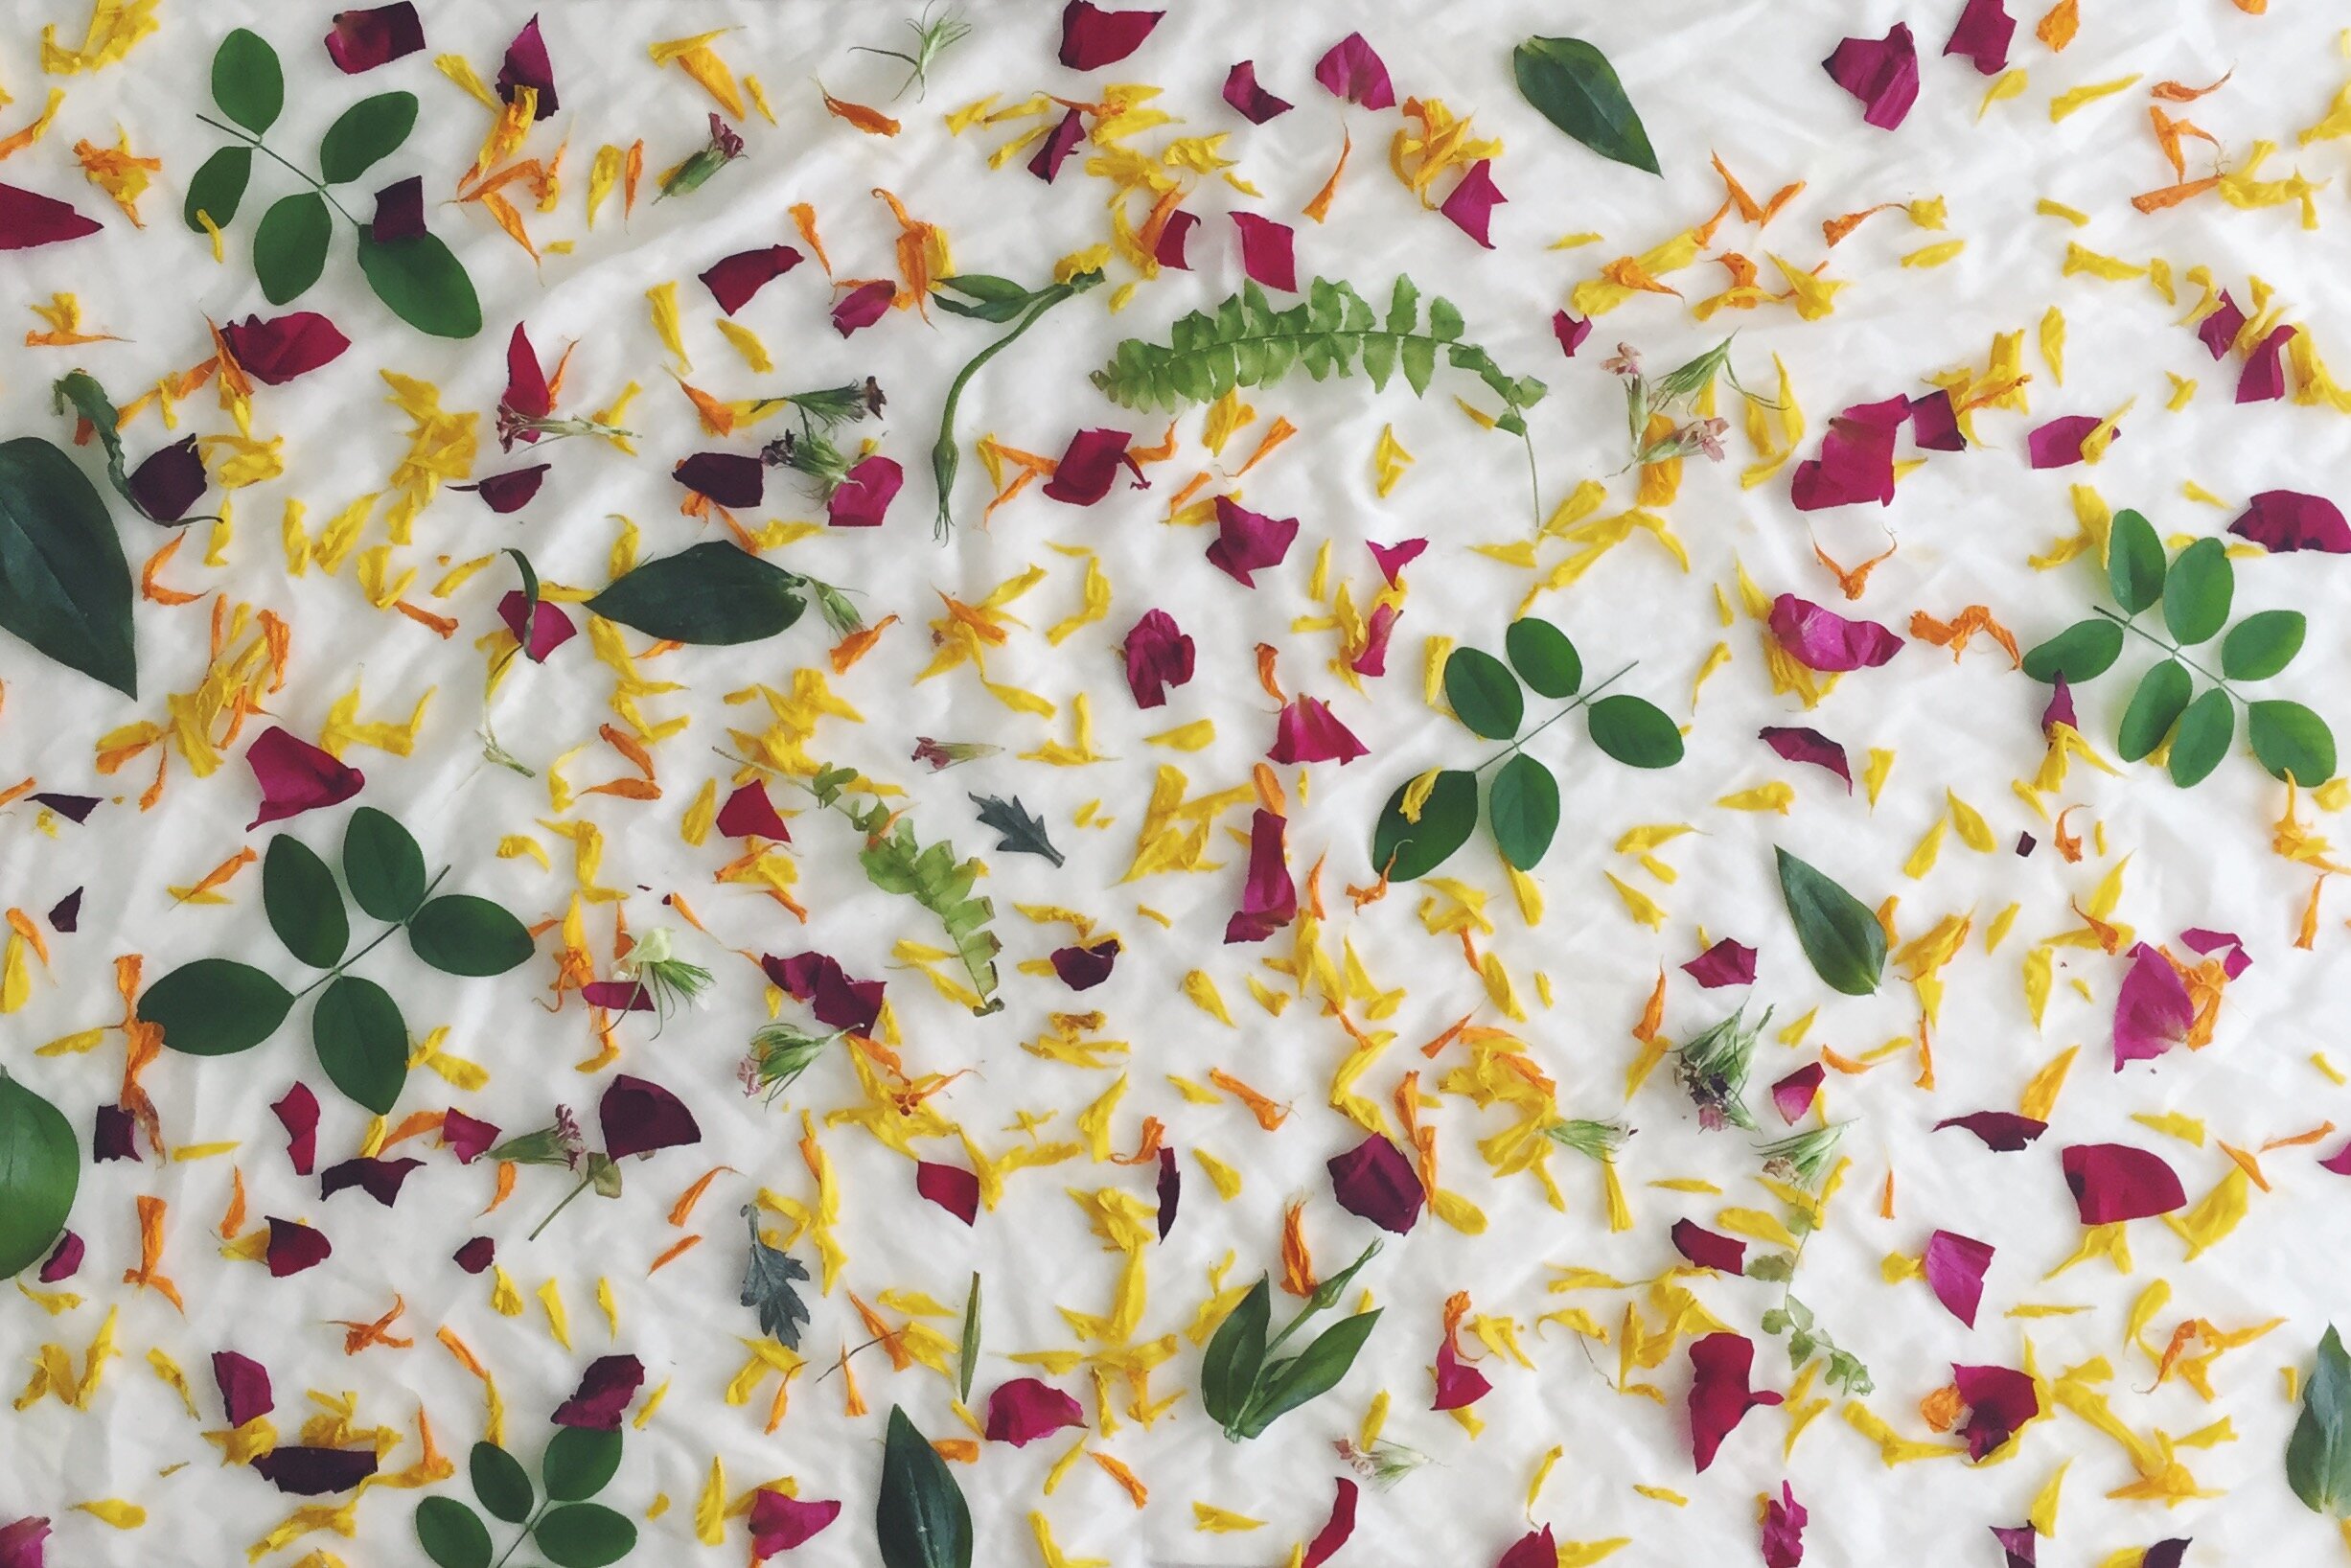
2. Layer on the dye materials! There’s no rule or limit, just do you! You can use as little or as much as you want. Arrange it in a regular pattern or sprinkle and let them fall organically, mix them up or use one in each section, the possibilities are endless!

3. If you want, you can also add little pieces of rusted bolts and nuts or a small section of a copper pipe, sprinkle on some baking soda or squeeze drops of lemon juice. These are what we call “modifiers” and can alter and change the colours of your bundle. Some react more quickly than others and some are more permanent changes than others, a little goes a long way!
4. Once you’re happy with the design, it’s time to bind it all up to make a bundle! You can roll, fold, scrunch, do a combination, add more dye materials in between… and then tie it up with string, fabric strips or rubber bands. Each method will give you a slightly different result but all are equally beautiful. Just make sure the dye materials stay as much as possible in your bundle so that they can work their magic! If you’re working with paper, I find it easier if you roll it onto something with a good sized diameter, an empty, clean tin can, wooden dowel or section of a PVC pipe would work. With paper, try to use dye materials that are softer as any stiff bits (such as twigs) or sharp, pointed edges can rip and tear your paper.


5. Carefully lower your bundle into a steamer with hot simmering water. If you don’t have a steamer, you can improvise with a colander, wire rack, or even a disposable aluminium tray (punch holes in the bottom) over a pot of simmering water. Put the lid on and let it steam for about 60 mins.
6. You can take a peek in between (be careful of hot steam!) to see how the magic is going. When time’s up, turn the heat off and let it cool with the lid off. You’ll see how different the colour looks from when you’ve first made the bundle.
7. When it’s cooled completely, unravel to reveal your masterpiece!

8. Shake off any dye materials on your piece and hang to dry in the shade. The colour will lighten a couple of shades as it dries. I like to leave it to cure for a few days before washing in cold water with a mild detergent and hang to dry in shade. For more tips on how to care for your naturally dyed piece, take a look at this post.
9. All that’s left to do now is to flaunt and enjoy your one of a kind scarf! It’s perfect as a neckerchief, to tie in your ponytail, a pocket square, a doll’s blanket or even a lunchbox wrap! I personally like wearing mine as a headwrap/bandana :)

Here’s the full process in a little stop-motion video. I hope you’ve enjoyed the tutorial. If you do give it a go, I’d love to see your results, so give me a shout and tag me on your Instagram or Facebook posts!

Pin & Share
and help spread the word if you’ve enjoyed this post!


